So you just hit your second trimester, and suddenly Pinterest is yelling at you about “nursery themes,” “changing stations,” and “crib safety standards.”
Girl, deep breaths. You’re growing a whole human—turning a spare room into a baby wonderland should not feel like prepping for the SATs.
Let’s talk about how to prepare your nursery in a way that’s actually doable, doesn’t require HGTV-level skills, and keeps your sanity intact.
🛑 First—Let’s Bust a Myth:
You don’t need a picture-perfect Pinterest nursery on Day 1.
Seriously. Your baby will sleep in a bassinet beside your bed for a while (hi, midnight feedings). So if the crib isn’t built by week 25, you’re not behind—you’re just realistic. ✔️
✅ Step 1: Pick Your Nursery Location
Even if you live in a small space, choose a spot you can baby-fy. Could be:
Whatever space you choose, make sure it’s:
🎨 Step 2: Decide on a Vibe (Not Just a “Theme”)
Forget strict “nursery themes.” Instead, pick a vibe that makes you feel calm and cozy—because you’ll spend a lot of midnight hours here.
Think:
✨ Tip: Use peel-and-stick wallpaper for an instant glow-up without commitment.
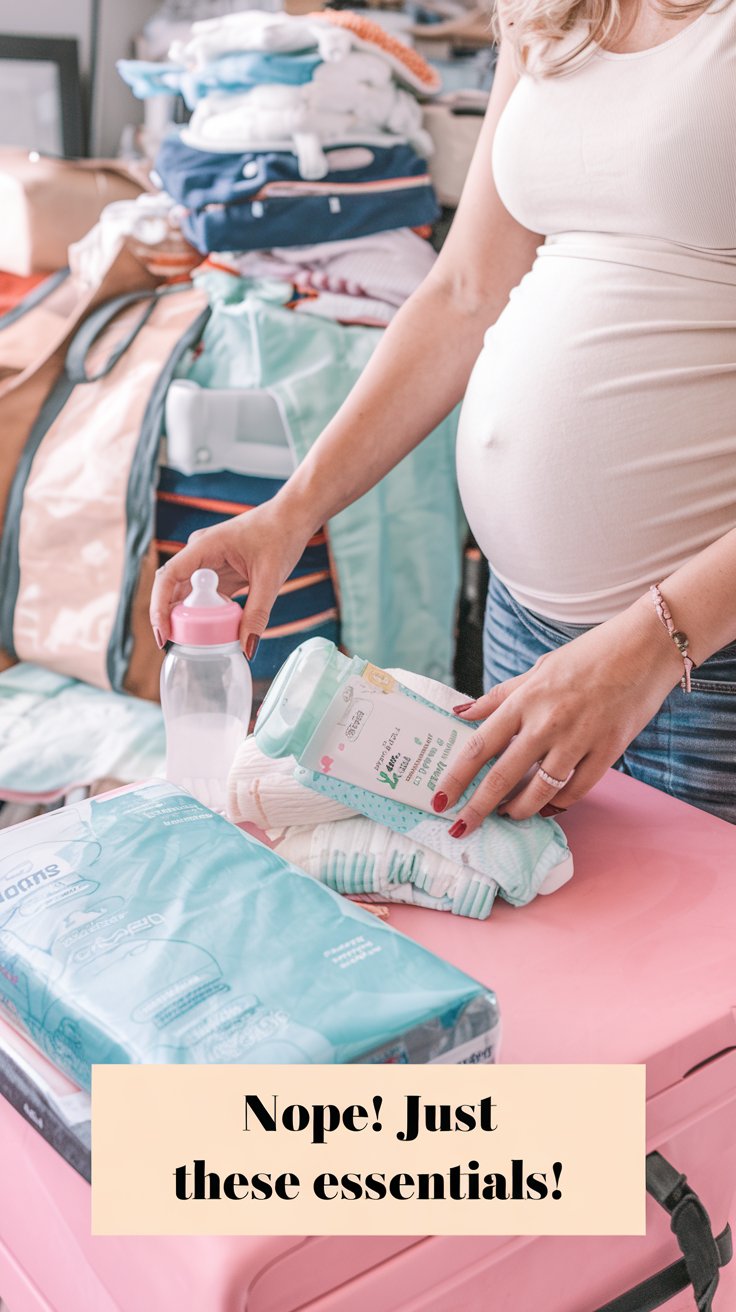
🛏 Step 3: Prioritize the Big 3 Essentials
Forget the 18-piece furniture sets. Here’s what you actually need:
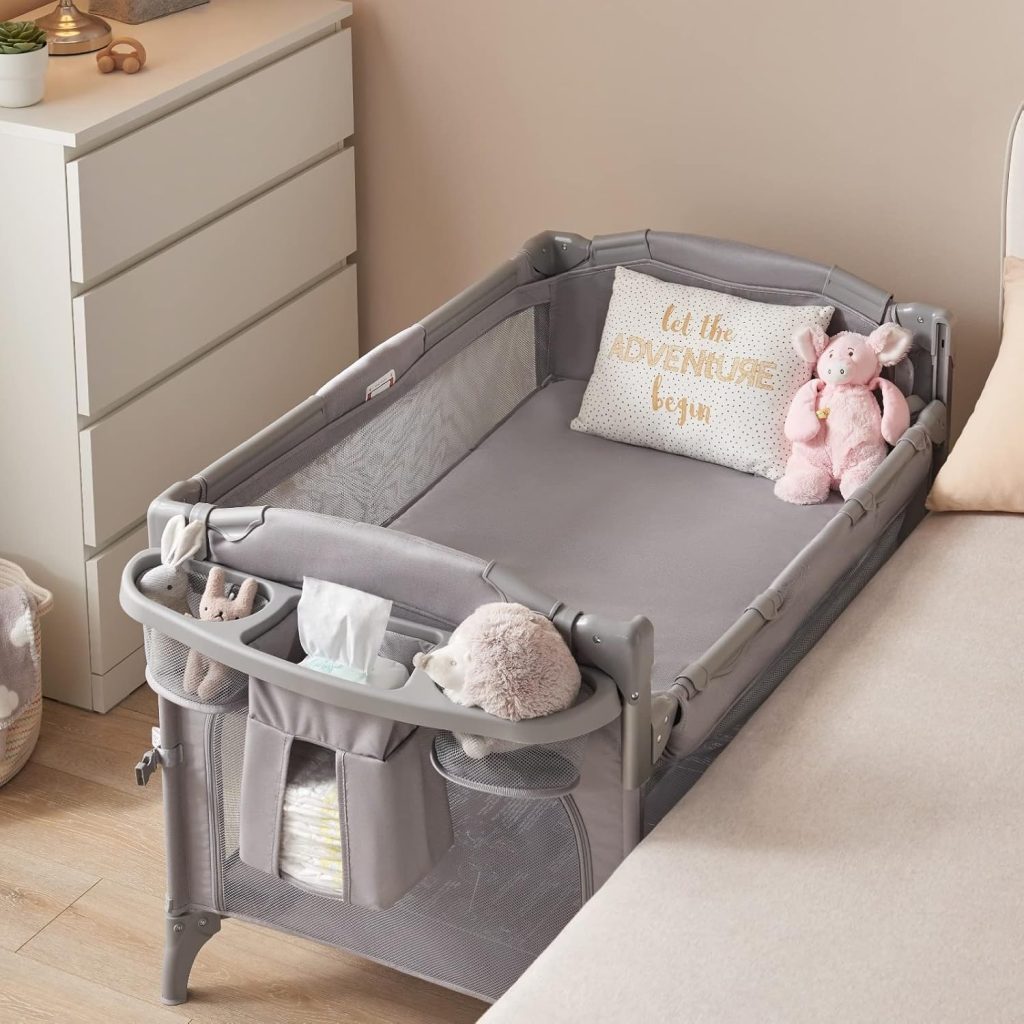
1. A Crib (or bassinet)
Make sure it meets current safety standards. Avoid drop-side cribs—they’re a no-no now.
Don’t forget a firm mattress and a fitted sheet (skip the bumpers and pillows for now).
2. A Changing Spot
Changing tables are great but not essential. A changing pad on a dresser works just fine.
Keep a basket nearby with diapers, wipes, and a few extra onesies (blowouts don’t care about your storage system).
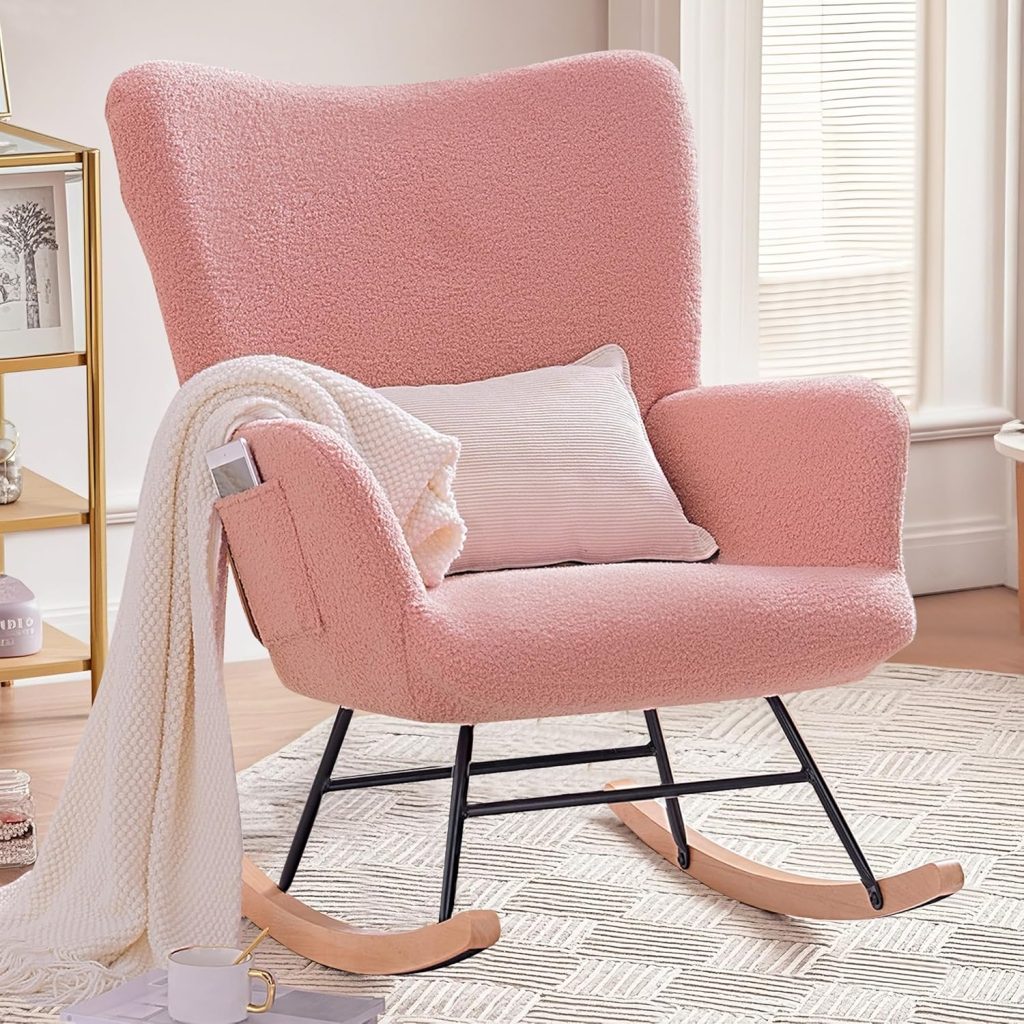
3. A Comfy Chair
For you. Trust me, future-you will thank you during 3 a.m. feeds.
Bonus if it rocks or reclines.
🧺 Step 4: Storage is Your Best Friend
Babies are tiny. Their stuff? Not so much. Think smart storage:
Use drawer dividers for baby clothes (tiny socks = chaos)
Baskets for toys, books, burp cloths
Over-the-door organizers = underrated heroes
Pro mom move: Label things before baby brain kicks in.
💡 Step 5: Light, Sound & Airflow
Set up the room to work for both day naps and middle-of-the-night diaper duty.
Blackout curtains = nap lifesavers
A soft nightlight saves you from flipping on the overhead light (aka instant baby wake-up)
White noise machine? Absolutely. (Or a free app on your phone to start.)
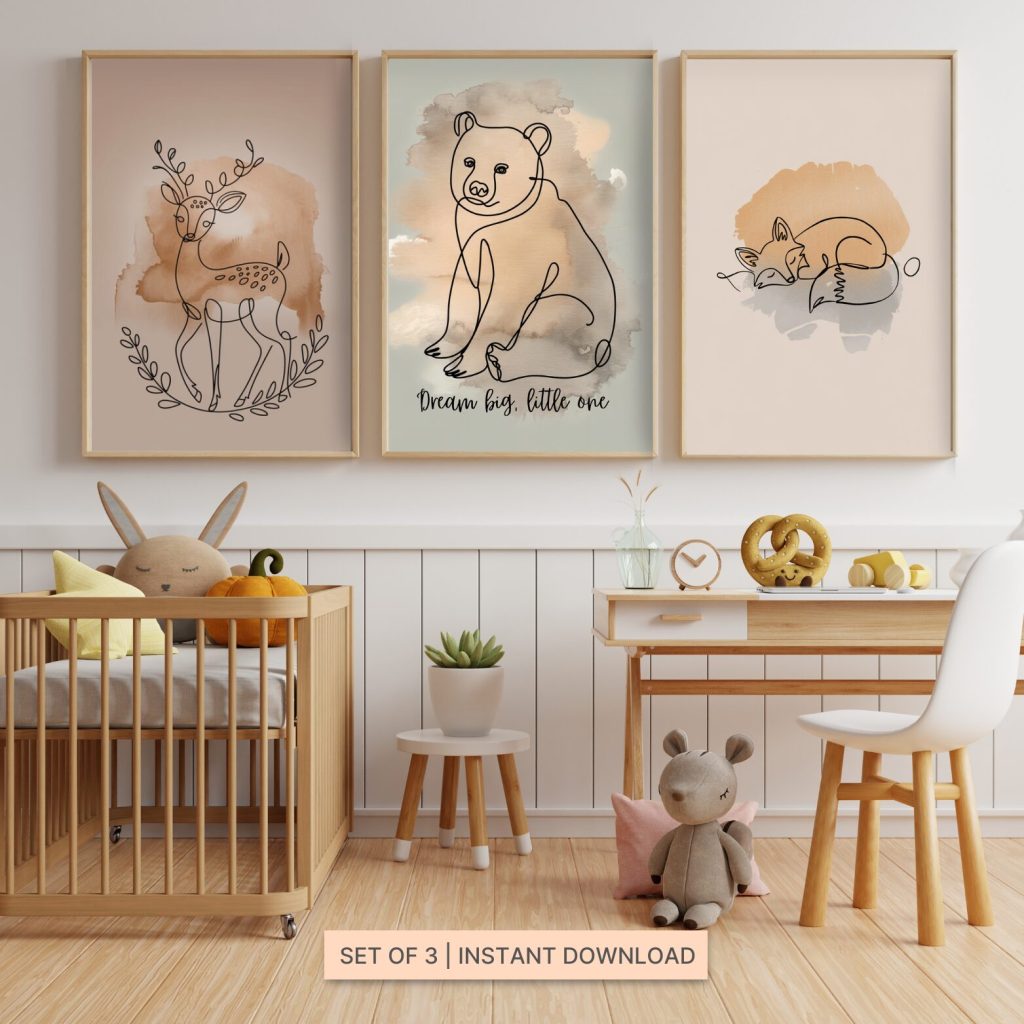
💖 Step 6: Add Personal Touches (And Breathe)
Your nursery doesn’t need to look like a magazine ad to be perfect. Add small things that make you smile:
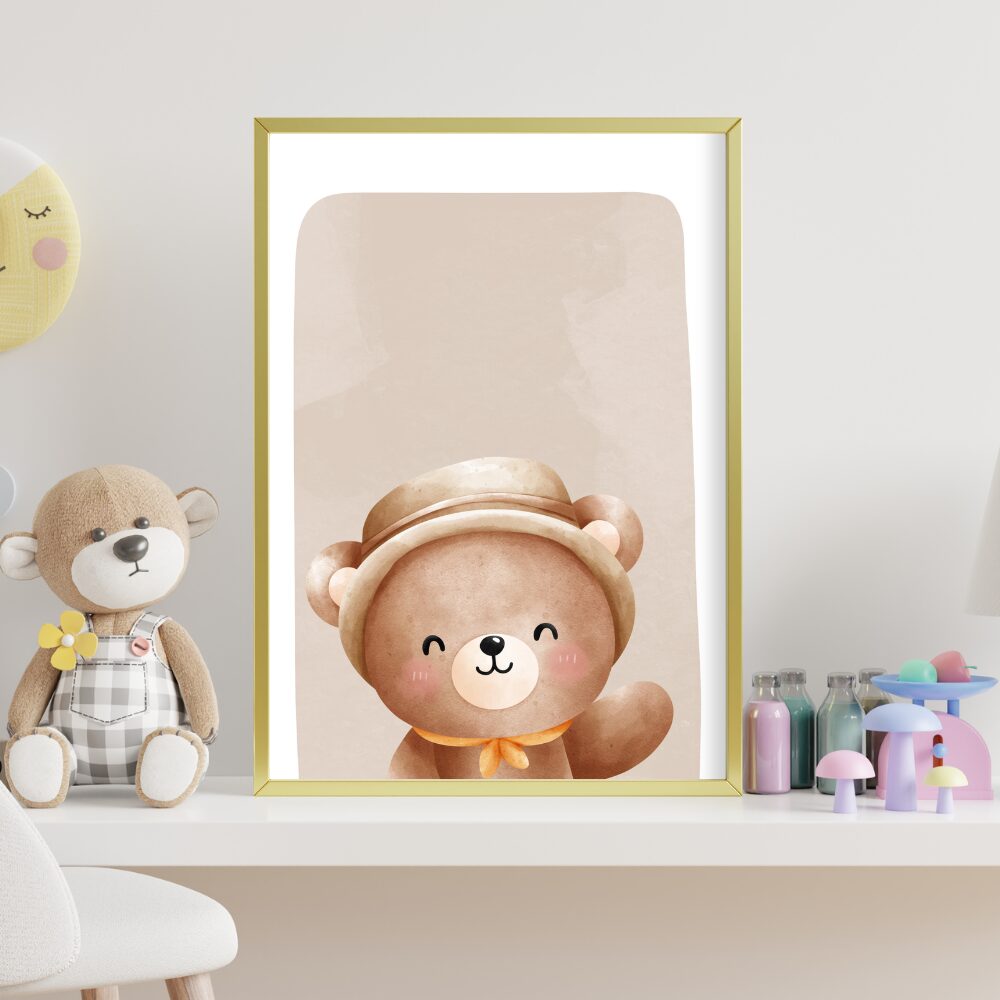
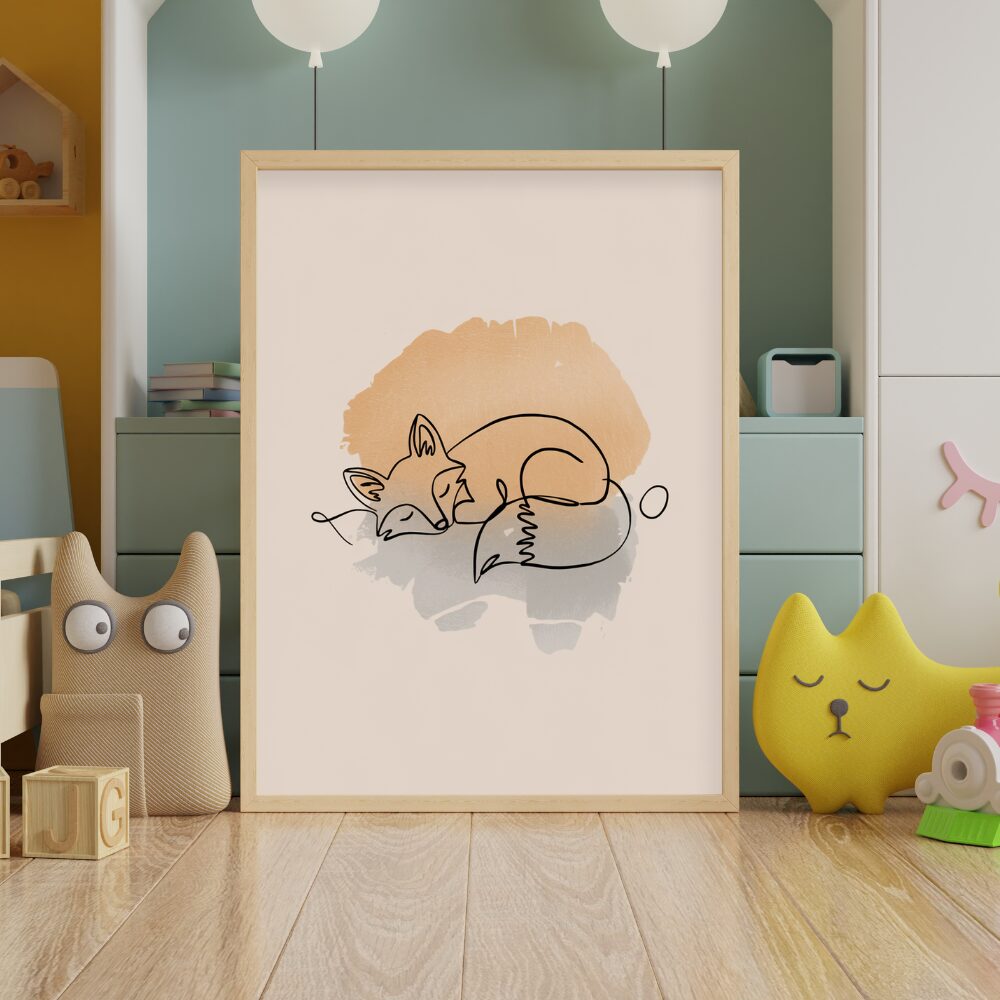
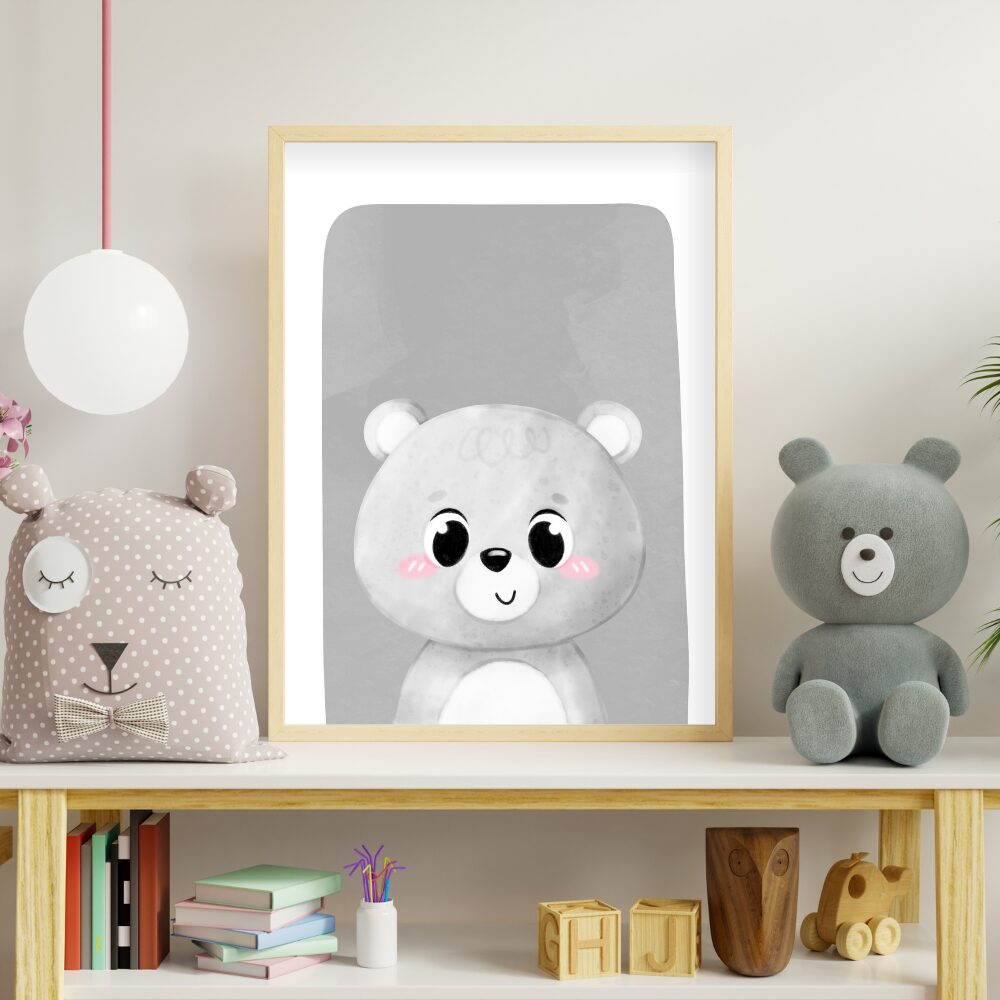
(We’ve got a few adorable printables in our Etsy shop—subtle plug, because we made them with love 💕)
💬 Real Talk from One Mom to Another
You’re already doing an amazing job. Preparing your nursery isn’t about having it all figured out—it’s about making space, physically and emotionally, for this new little person.
So whether your baby’s nursery is decked out in designer furniture or it’s just a corner with a bassinet and a cozy vibe—it’s enough.
Repeat after me: “I’m not behind. I’m preparing in my own way.” ❤️
🎁 BONUS: Free Printable Nursery Checklist!
Want a simple, no-stress checklist to keep track of what you actually need for your nursery?
👇 Grab your free printable Nursery Prep Checklist to take the guesswork out of prepping your space